
Camera Shots and Angles: A Comprehensive Guide
This comprehensive guide delves into the art of visual storytelling through camera techniques. We’ll explore diverse camera shots, from expansive extreme long shots to intimate extreme close-ups. Understanding these shots and angles is crucial for filmmakers.
Camera shots and angles are fundamental elements in visual storytelling, serving as the building blocks of cinematic language. Each shot and angle choice significantly impacts how the audience perceives the narrative, characters, and overall mood. By understanding and mastering these techniques, filmmakers can effectively communicate their vision and evoke desired emotions.
This guide offers a comprehensive exploration of various camera shots, ranging from the expansive extreme long shot, used to establish setting and scale, to the intimate extreme close-up, which reveals subtle emotions and details. We will also delve into different camera angles, such as eye-level, low, and high angles, each contributing a unique perspective and influencing the viewer’s perception of power dynamics and character vulnerability.
Furthermore, we will touch upon the use of camera movement, including panning, tilting, and zooming, as tools to guide the audience’s attention and create dynamic visual experiences. Ultimately, this guide aims to equip aspiring and seasoned filmmakers alike with the knowledge and understanding necessary to wield camera shots and angles with purpose and precision, crafting compelling and visually engaging stories.
Understanding Camera Shots
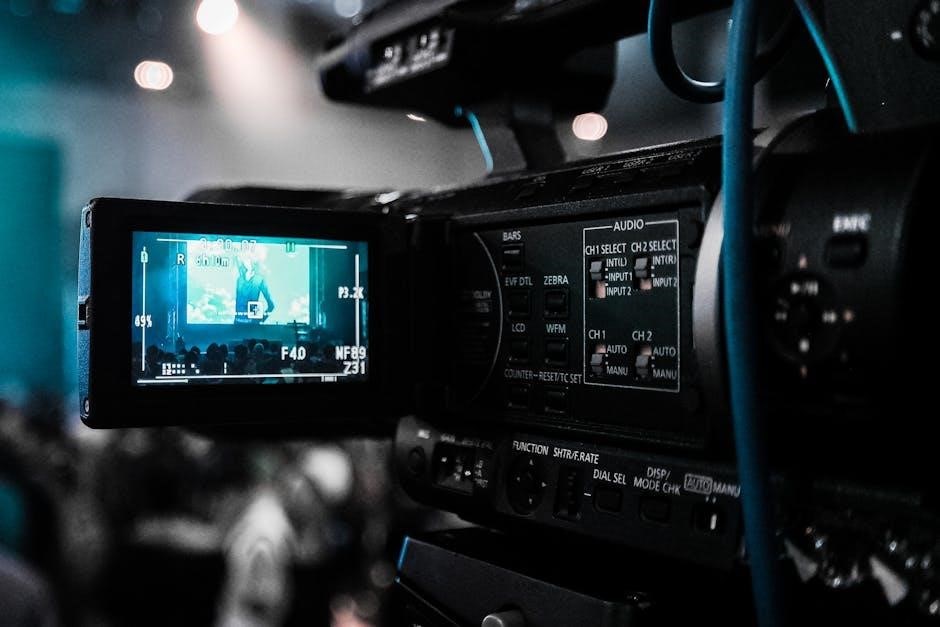
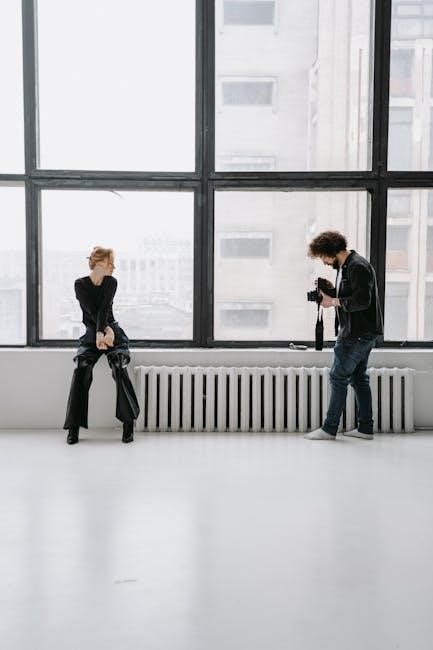
Camera shots define how much of a subject and its surroundings are visible in the frame. They determine the viewer’s perspective and focus, ranging from broad establishing shots to detailed close-ups, each serving a unique narrative purpose.
Extreme Long Shot
The Extreme Long Shot (ELS), also known as the Wide Shot, presents a subject from a considerable distance. The subject is often dwarfed by its surroundings, emphasizing the environment. Typically used as an establishing shot, the ELS sets the scene and provides context. It showcases the vastness of a landscape or the exterior of a building, positioning characters within their world.
The ELS can highlight the insignificance of a character amidst a grand setting or establish the location of a scene; Think of sweeping landscapes in westerns or the imposing architecture in fantasy films. This shot often conveys a sense of scale and grandeur, making it ideal for visually rich and immersive storytelling. Its primary function is to create a sense of place and time.
By minimizing the character’s presence, the ELS can evoke feelings of isolation or vulnerability. The power of the environment is amplified, creating a visually compelling opening for a film or scene;
Long Shot
The Long Shot (LS) depicts a subject from a distance, showcasing their entire body in relation to the surrounding environment. It is closer than an extreme long shot, allowing the viewer to see the character’s actions and interactions within their immediate context. The long shot strikes a balance between showing the environment and focusing on the subject.
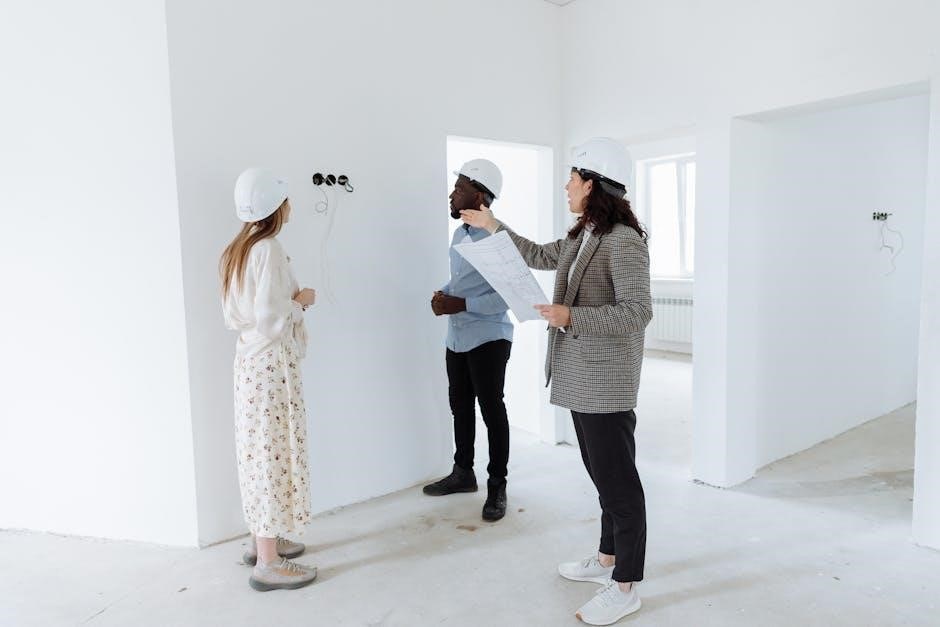
It is frequently used to introduce characters, depict physical activities, or illustrate relationships between people and their surroundings. For example, a long shot could show a character walking down a street, highlighting their journey and the urban landscape. Or, it could capture a group of people interacting in a social setting, revealing their dynamics.
Unlike the extreme long shot, the long shot offers a clearer view of the subject’s expression and body language. While the environment remains important, the focus shifts slightly towards the character’s presence and actions within that environment. It is a versatile shot that provides both context and character detail.
Medium Shot
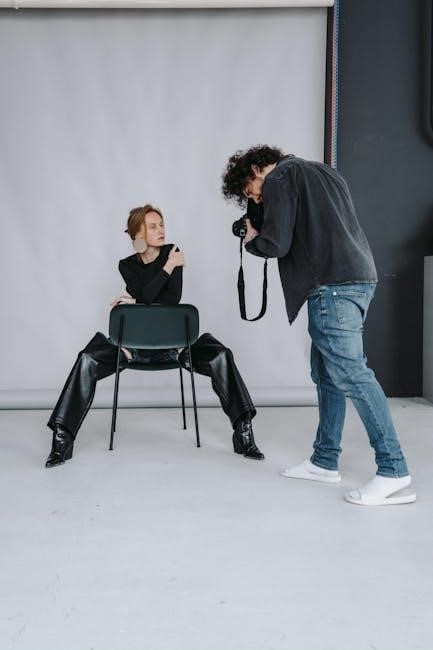
The Medium Shot (MS) frames a subject from the waist up. This shot is tighter than a long shot, allowing viewers to see more detail in the subject’s expressions and body language while still showing some of their surroundings. It is a versatile shot commonly used for dialogue scenes and capturing interactions between characters.
The medium shot strikes a balance between showing the subject and their environment. It is close enough to convey emotions and reactions, but wide enough to provide context. This makes it suitable for a variety of purposes, from showcasing character interactions to highlighting specific actions or details. For example, a medium shot can capture a character’s facial expressions during a conversation.
Compared to wider shots like the long shot, the medium shot emphasizes the subject’s presence and emotional state. It draws the viewer’s attention to their expressions and gestures, making it effective for conveying subtle nuances. The medium shot is a workhorse in filmmaking, providing a clear and engaging view of the subject while maintaining a sense of context.
Close-Up Shot
The Close-Up Shot (CU) tightly frames a subject, typically focusing on their face. This shot is used to emphasize emotions, reactions, and subtle details that might be missed in wider shots. It creates intimacy and connection between the viewer and the subject. By filling the frame with the subject’s face, the close-up shot intensifies the emotional impact of a scene.
The close-up is a powerful tool for highlighting specific details and drawing the viewer’s attention to crucial elements. For instance, a close-up on a character’s eyes can reveal their inner thoughts and feelings, adding depth and complexity to their portrayal. Likewise, a close-up on an object can emphasize its significance within the narrative.
Filmmakers often use close-ups to create dramatic tension or to reveal a character’s true nature. The intense focus of the close-up can heighten suspense and draw the viewer into the character’s emotional state. By isolating the subject from their surroundings, the close-up shot forces the viewer to focus solely on their reaction and expression, creating a sense of immediacy and connection.
Extreme Close-Up Shot
The Extreme Close-Up Shot (ECU) takes intimacy to the next level by isolating a very small portion of the subject. Typically focusing on a single feature, like an eye or a mouth, the ECU magnifies details and emotions, creating a powerful impact. This shot eliminates distractions and forces the viewer to concentrate on the most minute aspects of the subject.
The ECU is often employed to heighten tension, reveal hidden emotions, or emphasize a particular detail that holds significance to the narrative. By magnifying a character’s eye, for example, the ECU can convey fear, surprise, or determination with intense clarity. Similarly, an ECU on a hand can emphasize nervousness, anticipation, or even the importance of a specific action.
Effective use of the ECU requires careful consideration, as it can easily become overwhelming or distracting if not implemented thoughtfully. It serves to amplify small but impactful elements of the story. By isolating specific details, the ECU can create a sense of unease, anticipation, or heightened emotion, drawing the viewer deeper into the story’s emotional core.

Understanding Camera Angles
Camera angles profoundly influence how viewers perceive subjects. High angles can diminish characters, while low angles can amplify power. Eye-level shots offer neutrality. Mastering these angles enhances storytelling, creating impactful visuals.
Eye-Level Angle
The eye-level angle is perhaps the most frequently used camera angle, as it presents the subject in a neutral and realistic manner. Mimicking how we typically view the world, it fosters a sense of connection and impartiality. This angle positions the camera at the same height as the subject’s eyes, creating a level playing field between the viewer and the character or object being filmed.
Eye-level shots are excellent for establishing a sense of normalcy and allowing the audience to relate to the subject on a human level. They avoid any inherent power dynamics or emotional bias that can be introduced by higher or lower angles.
This angle is particularly effective when the goal is to convey straightforward information or to immerse the viewer in a scene without influencing their perception. It is widely employed in interviews, conversations, and scenes where the focus is on the dialogue and interaction between characters. The eye-level angle invites viewers to engage with the subject matter directly.
Low Angle
A low angle shot positions the camera below the subject, looking upwards. This technique immediately alters the viewer’s perception, often making the subject appear larger, more powerful, and more imposing. The effect can be dramatic, imbuing the subject with a sense of dominance or authority within the scene.
Low angles are frequently employed to emphasize a character’s strength, confidence, or even menace. By exaggerating their size and stature, the filmmaker can subtly manipulate the audience’s emotional response. This angle can also be used to create a feeling of vulnerability or awe in the viewer, as they are essentially looking up to the subject.
Furthermore, low angles can be used to create a sense of unease or tension, particularly when combined with other cinematic techniques. They are a powerful tool for visual storytelling, adding layers of meaning and subtext to a scene. The low angle is ideal for moments that require a sense of grandness.
High Angle
A high-angle shot involves positioning the camera above the subject, looking down upon it. This perspective has a notable impact on how the subject is perceived, often rendering them smaller, weaker, and more vulnerable. The effect can be used to convey a sense of insignificance, powerlessness, or even being overwhelmed by circumstances.
Filmmakers frequently employ high angles to create a feeling of sympathy for a character or to emphasize their isolation within a scene; By diminishing their size and stature, the audience may feel more inclined to empathize with their plight. This angle is also effective for conveying a sense of being watched or observed.
Furthermore, high angles can be used to establish a sense of scale, showing the subject in relation to their surroundings. This can be particularly useful in establishing shots, where the goal is to provide context and orient the viewer within the scene. This angle is especially beneficial for moments of vulnerability.


Leave a Comment